Are you ready to transform your living space with the perfect pair of curtains? Our step-by-step buying guide will help you unravel the secrets to selecting curtains that reflect your unique style and effortlessly enhance your home’s interior.
From luxurious fabrics such as linen and cotton curtains to practical solutions like blackout styles and fully lined options, Secret Linen Store offers a delightful array of choices to suit every taste and need.
In this handy guide, we’ll cover all the curtain advice you need to transform your space, from different curtain sizes to measuring tips, fabric types and more.
Ready to learn more? Grab a cuppa (and maybe a pen and paper to jot down measurements as you go!), and let’s dive right in.
What to Consider When Buying Curtains
When finding the perfect curtains for your home, we understand the need for perfectly draped designs that look the part while doing their job adequately. Whether that’s letting the natural light flood in or keeping the morning rays out while you hit the snooze button to catch those extra Zs.
To help you decide on your main curtain criteria list, we’ve outlined the main points to consider when buying your next pair; from choosing the right size and lining to measuring tips and size guides.

How to Choose the Right Size Curtains
So, you’ve finally chosen the colour and style of curtains you want (yippee!) and have an idea of how you want them to look. Now it’s time to dig out your tape measure and get measuring so you know which size to pop in your shopping bag.
Most curtains will be hung in pairs, but some of our curtains are sold as individual panels, so you will need to purchase two to get your pair.
Kit list:
- Metal tape measure (more accurate and easier to use than a fabric one)
- Pencil or pen
- Piece of paper or a print out of our handy measuring aid
- A friend to help hold the tape measure

Measuring Your Pole or Track
First thing first, your curtains will require either a track or pole, depending on what style you choose. For example, pencil pleat curtains often feature a track, whereas loop top curtains will require a pole to thread onto.
If your track or pole has yet to be installed, consider your curtain length options before drilling any holes in the wall (thank us later!).
We think it’s best when the pole sits at least 15cm above the window to ensure the window isn’t obstructed by your curtain fixings, but you may need to position your pole a little higher or lower to give yourself the drop you want.
If you have a small window and would like to make it appear bigger, a sneaky trick is to raise the curtain pole even higher to allow for a longer curtain, giving the illusion of higher ceilings.
Choosing the Correct Length for Your Curtains
The length of your curtains will depend on where you want your curtains to fall: either to window sill level, below sill level or all the way to the floor.
For a curtain that falls to the sill, measure from the top of your curtain pole to 1cm above the sill level. For a curtain just below your window sill, measure again from the top of your pole down to where you'd like the curtains to fall. For curtains that are full length to the floor, measure from the top of your pole to 1cm above the floor.
Your track or pole should extend either side of the window by around 15-20cm. This is especially important if you’re installing blackout curtains to ensure that the light won’t leak around the side of your curtain when it’s closed, however, it also enables you to draw them right back so they don’t obstruct the light coming through the window when they’re open.
Curtain Hook Placement
You have three options as to where you insert your hooks. If you put your hooks on the top level, your curtains will hang a bit longer, whereas using the bottom row will raise your curtains a little. We would recommend using the lower row for your hooks if you’re hanging on a track, as there will be a little more fabric at the very top of your curtain to hide the track.
For more helpful advice, visit our handy guide on How to Hang Your Curtains.
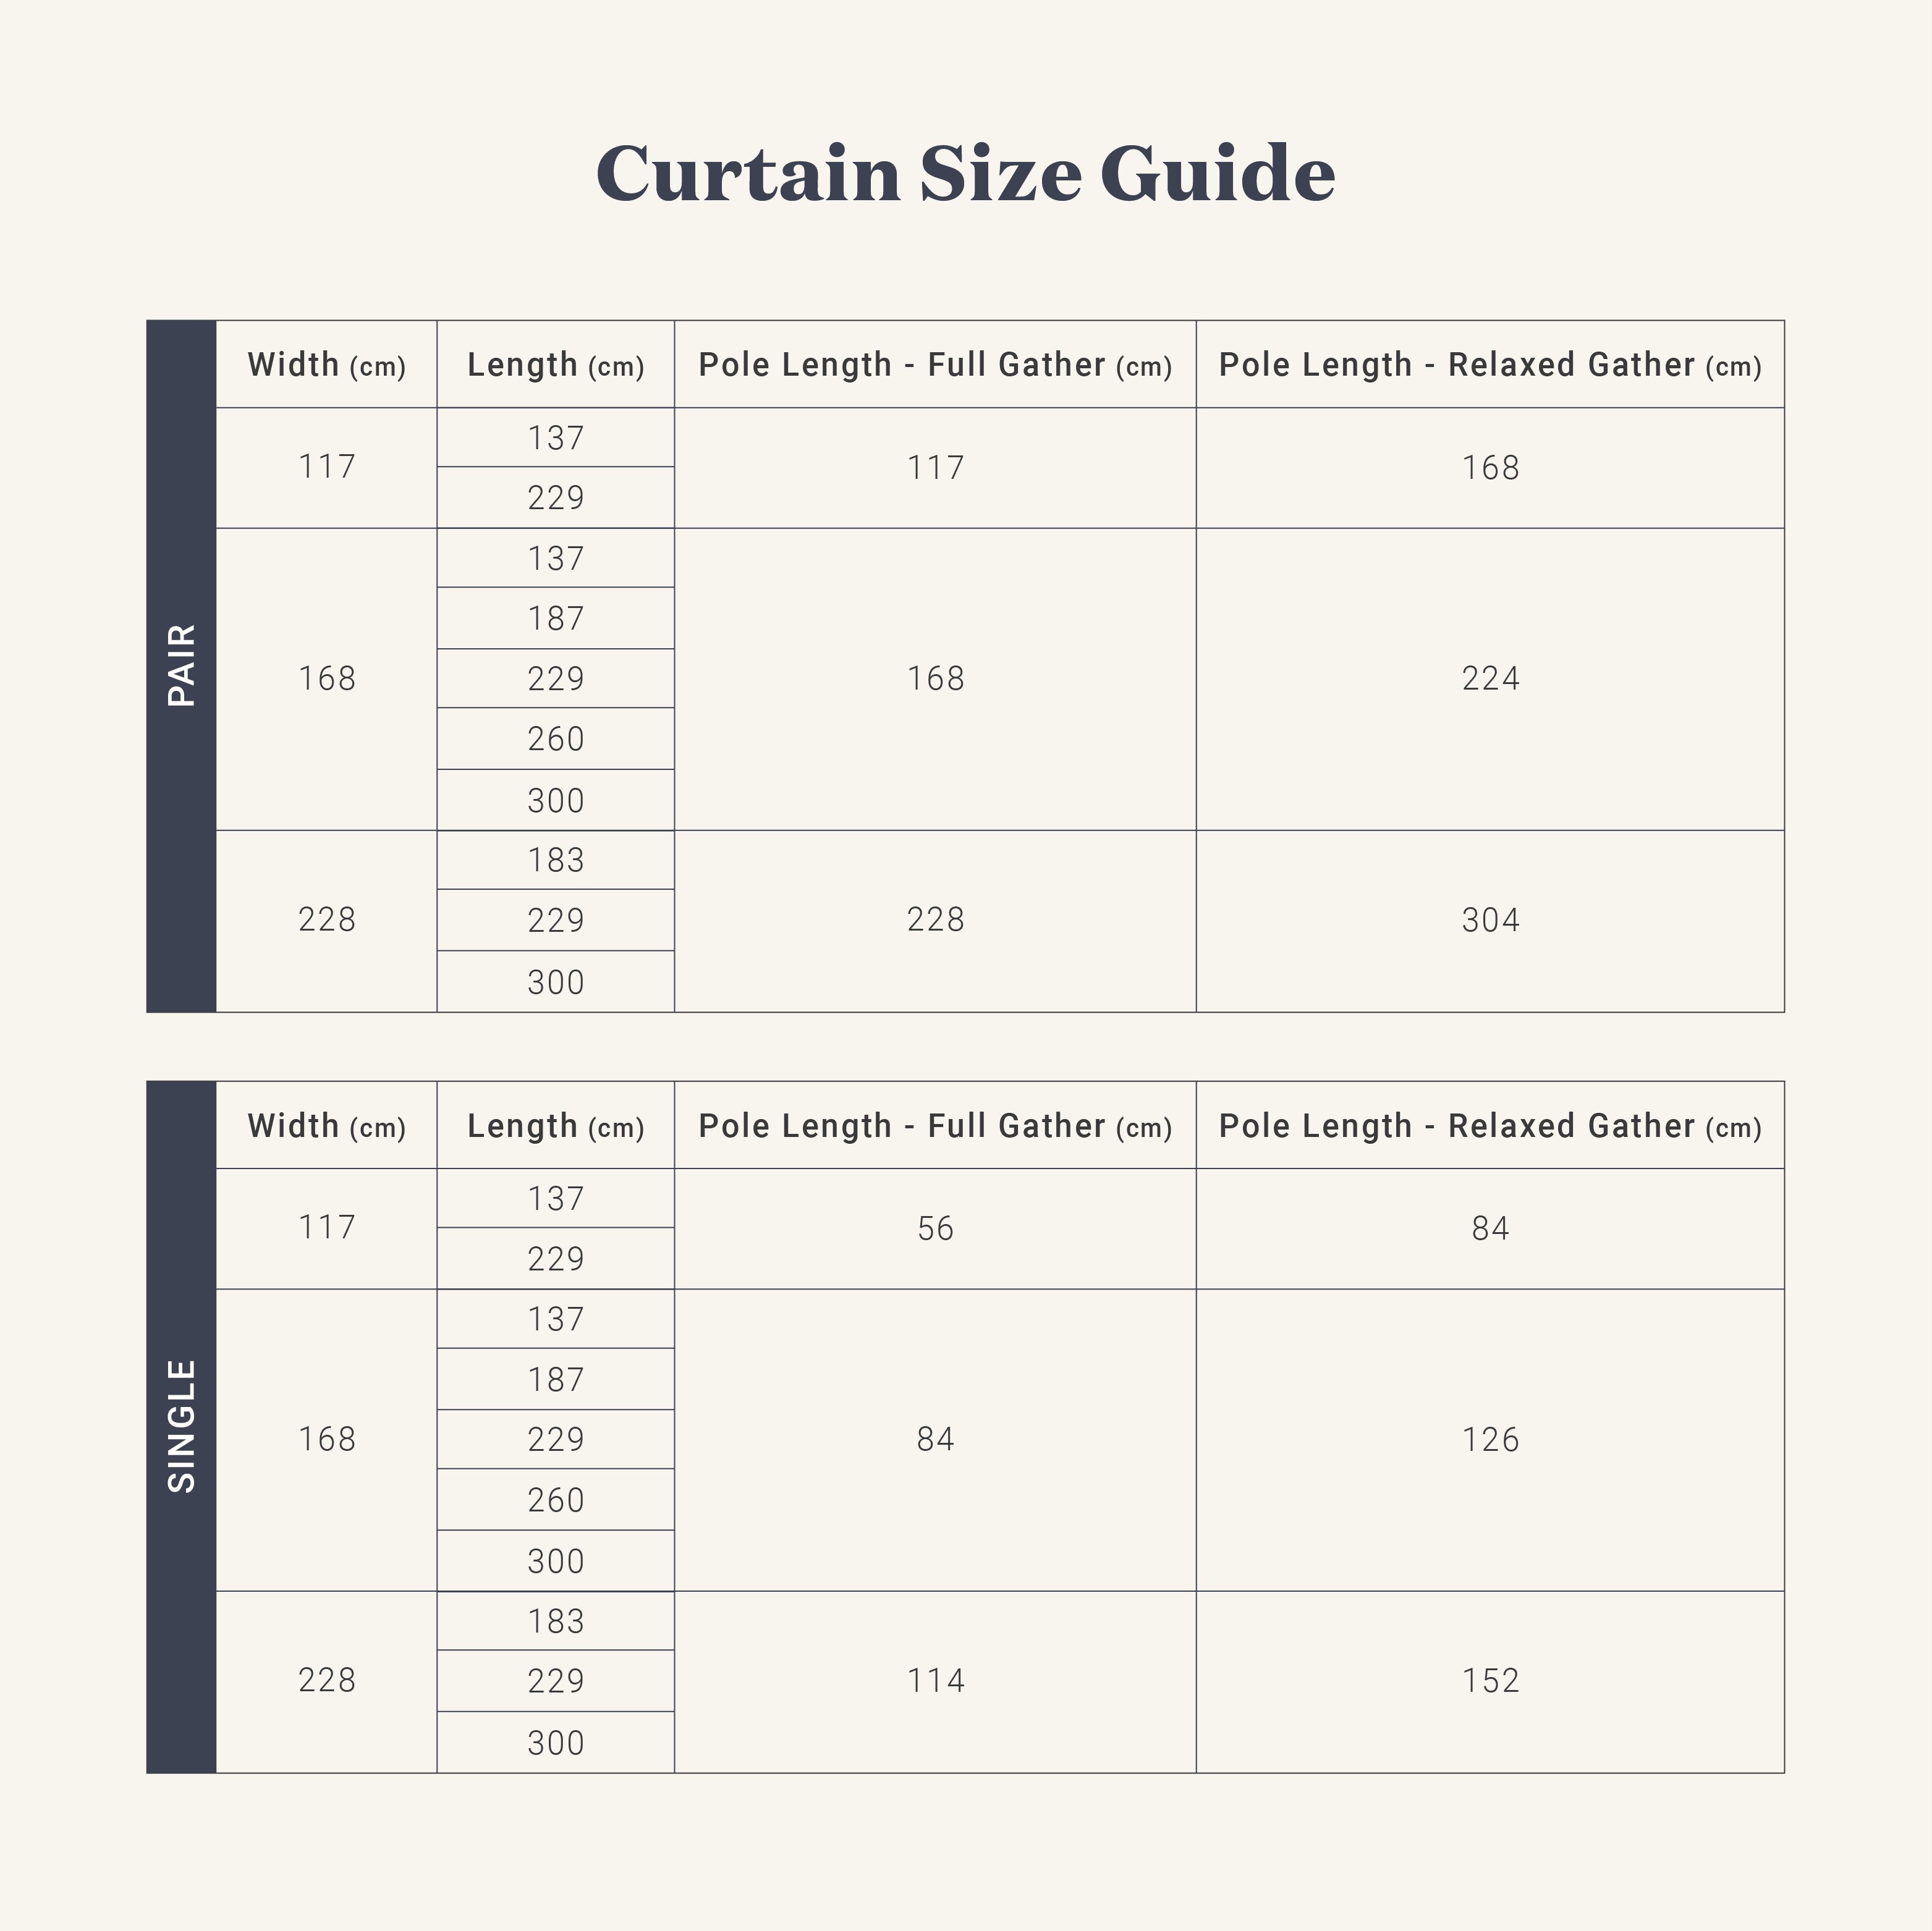
Secret Linen Store Curtain Sizes
We have curtains that fit most window sizes. Our curtains are all longer lengths and, depending on the chosen style, will be available in one or more of these three lengths:
- 229cm
- 260cm
- 300cm
We then have three different widths for you to choose from - again, depending on the style you opt for:
- 117cm
- 168cm
- 228cm
In general, the basic linen panels are 168cm wide and 229cm long, with longer and wider options available in our more popular colours.
Our blackout curtains are mostly available in three sizes:
- 168cm x 229cm
- 168cm x 260cm
- 228cm x 229cm – with further options for the most popular colours
You will need to refer to the product listing for the curtain you’re interested in to check which sizes are available.
Need further top tips on getting the right measurements for your curtains? Pop over to our handy Measuring Guide for more information.
How to Wash Your Curtains
Once you have bought your dream curtains, you will want to keep them looking brand new. Secret Linen Store experts share top tips on how to clean and care for your curtains in our blog, how to care for your curtains.
Shop our full range of curtains to begin your journey to transforming your home today or head to our Curtains Advice page for more tips and tricks.
Browse Curtains
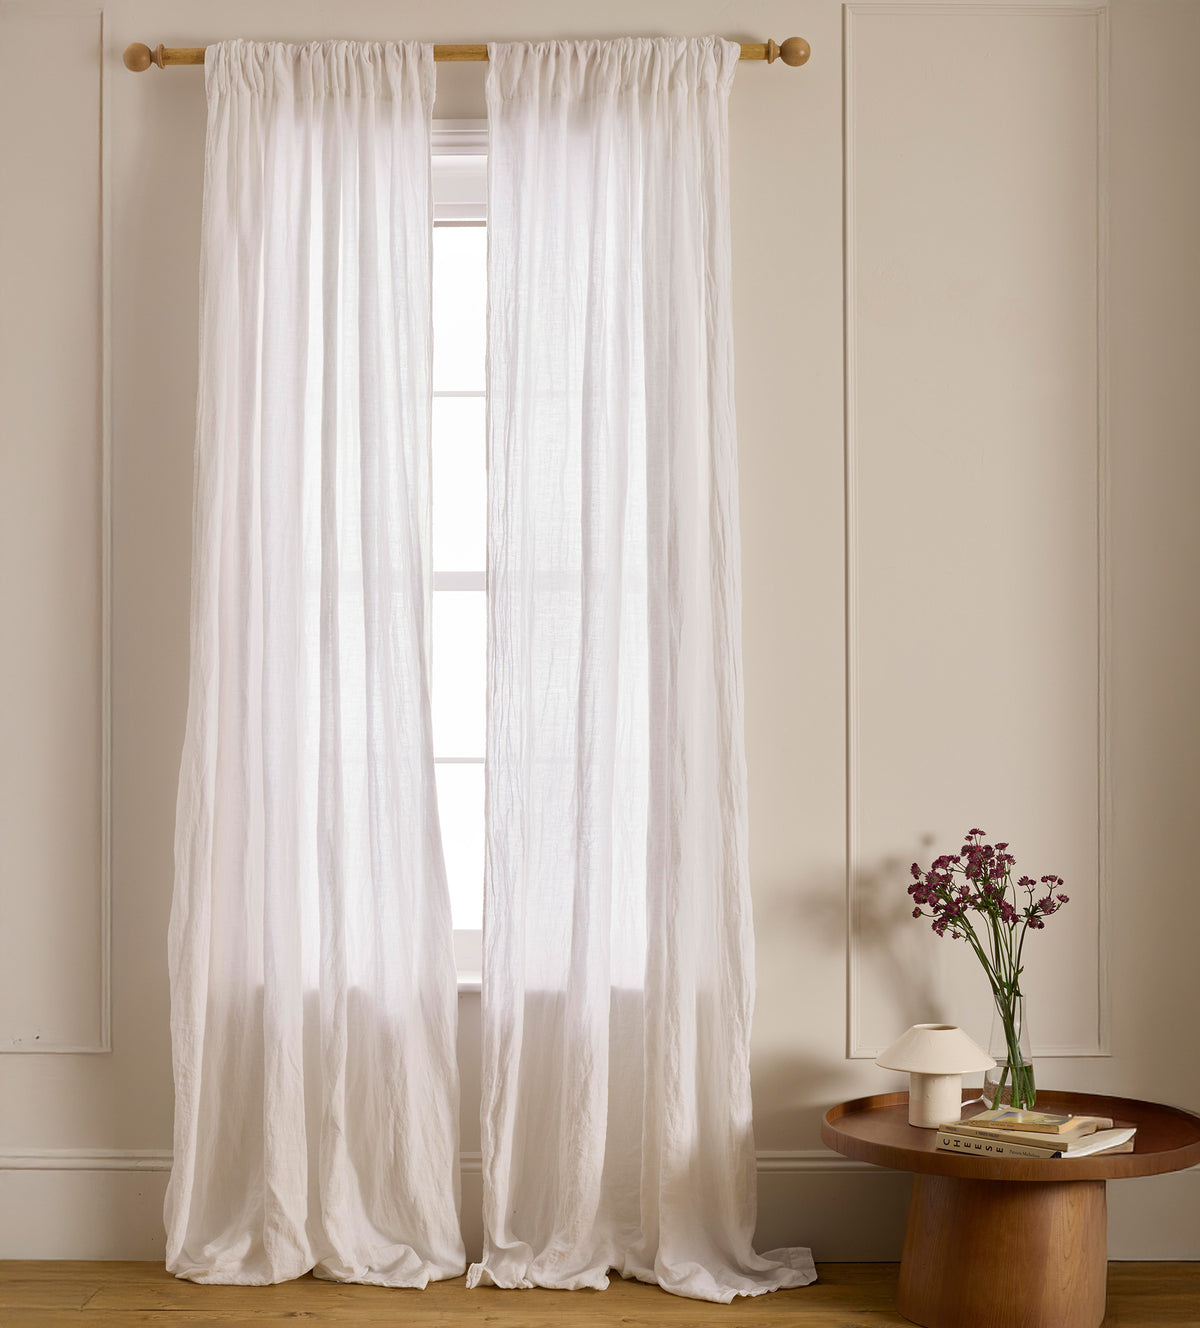
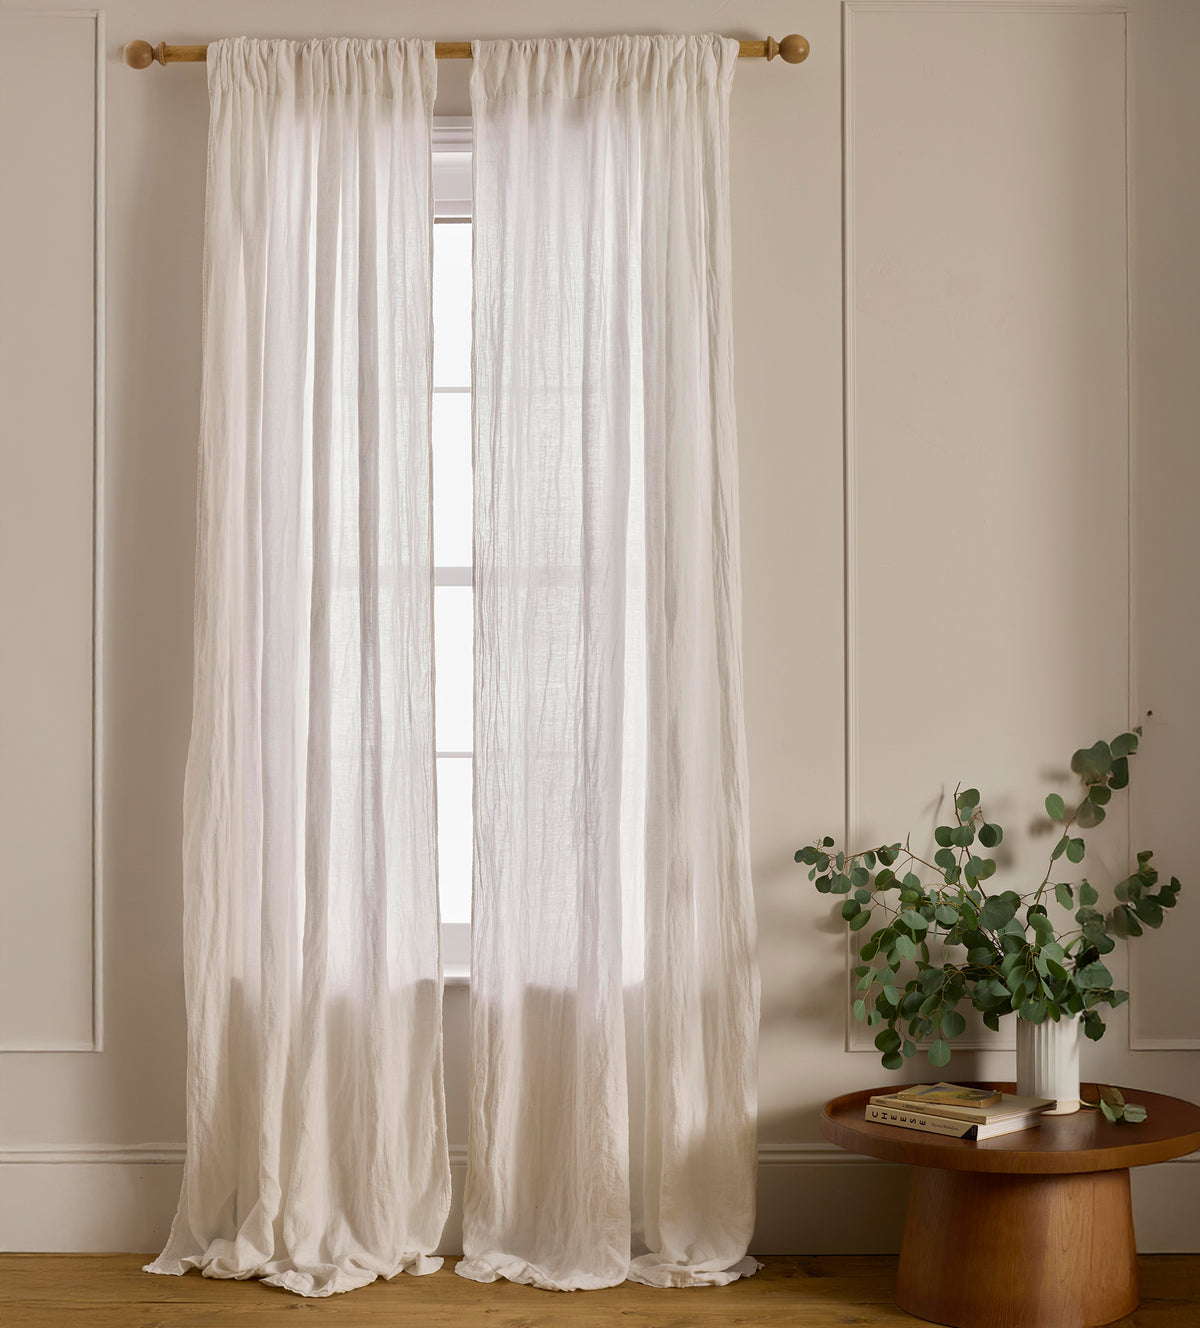
Natural Twill Cotton Linen Blackout Pencil Pleat Curtains (Pair)
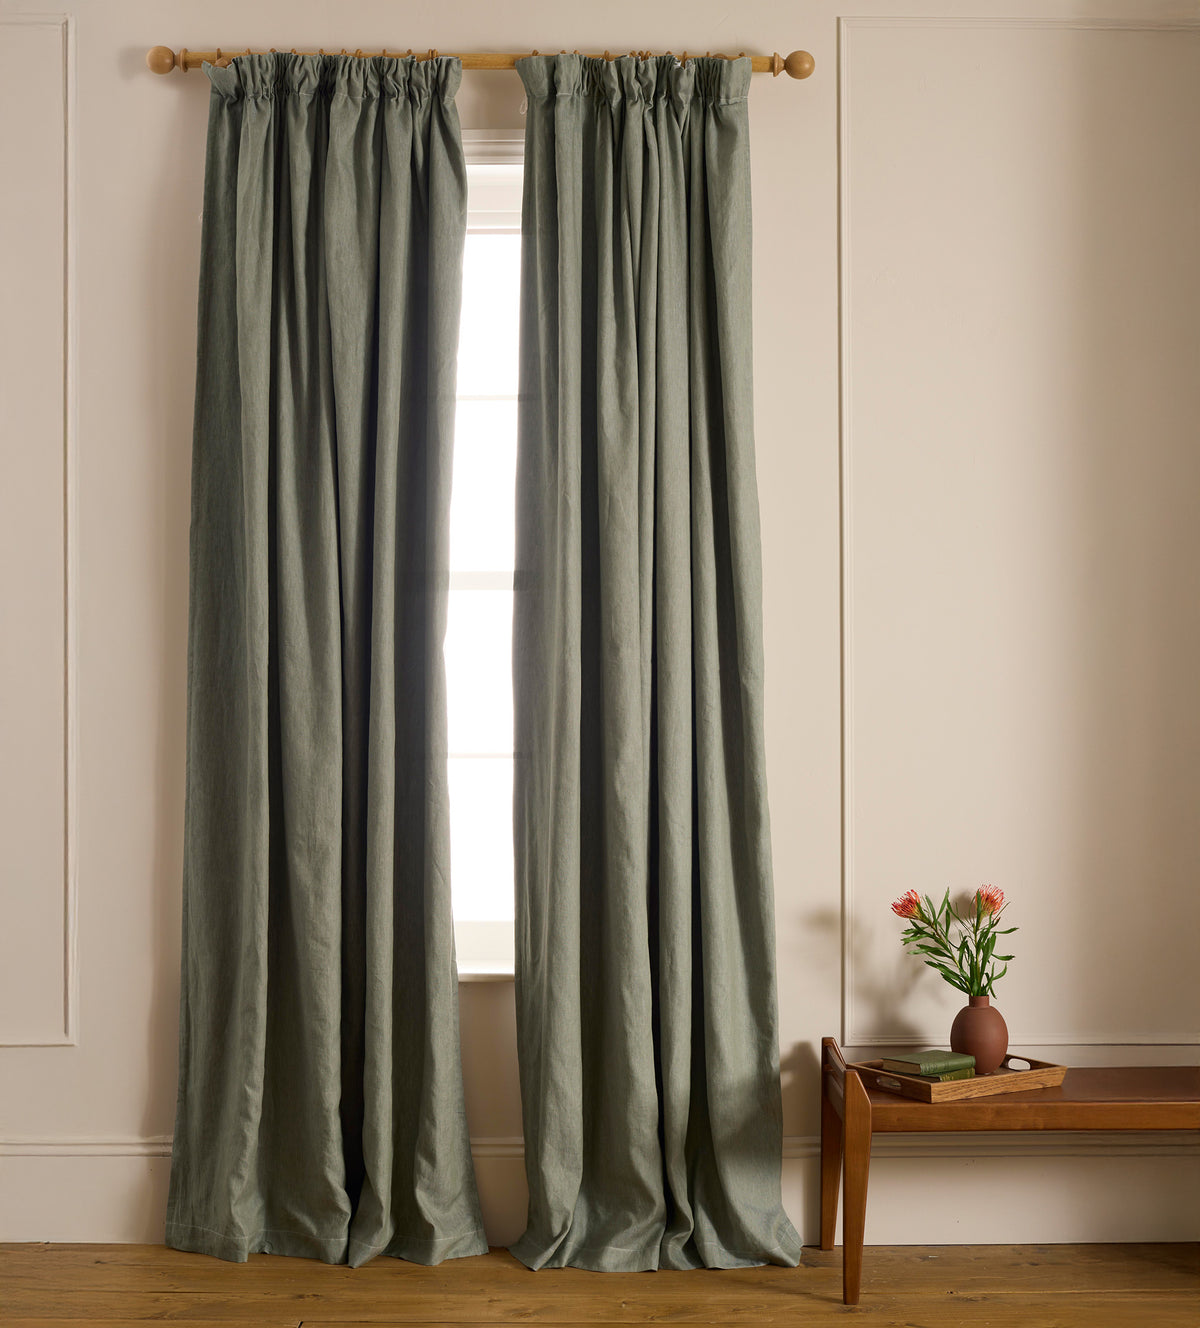
Olive Green Twill Cotton Linen Blackout Pencil Pleat Curtains (Pair)
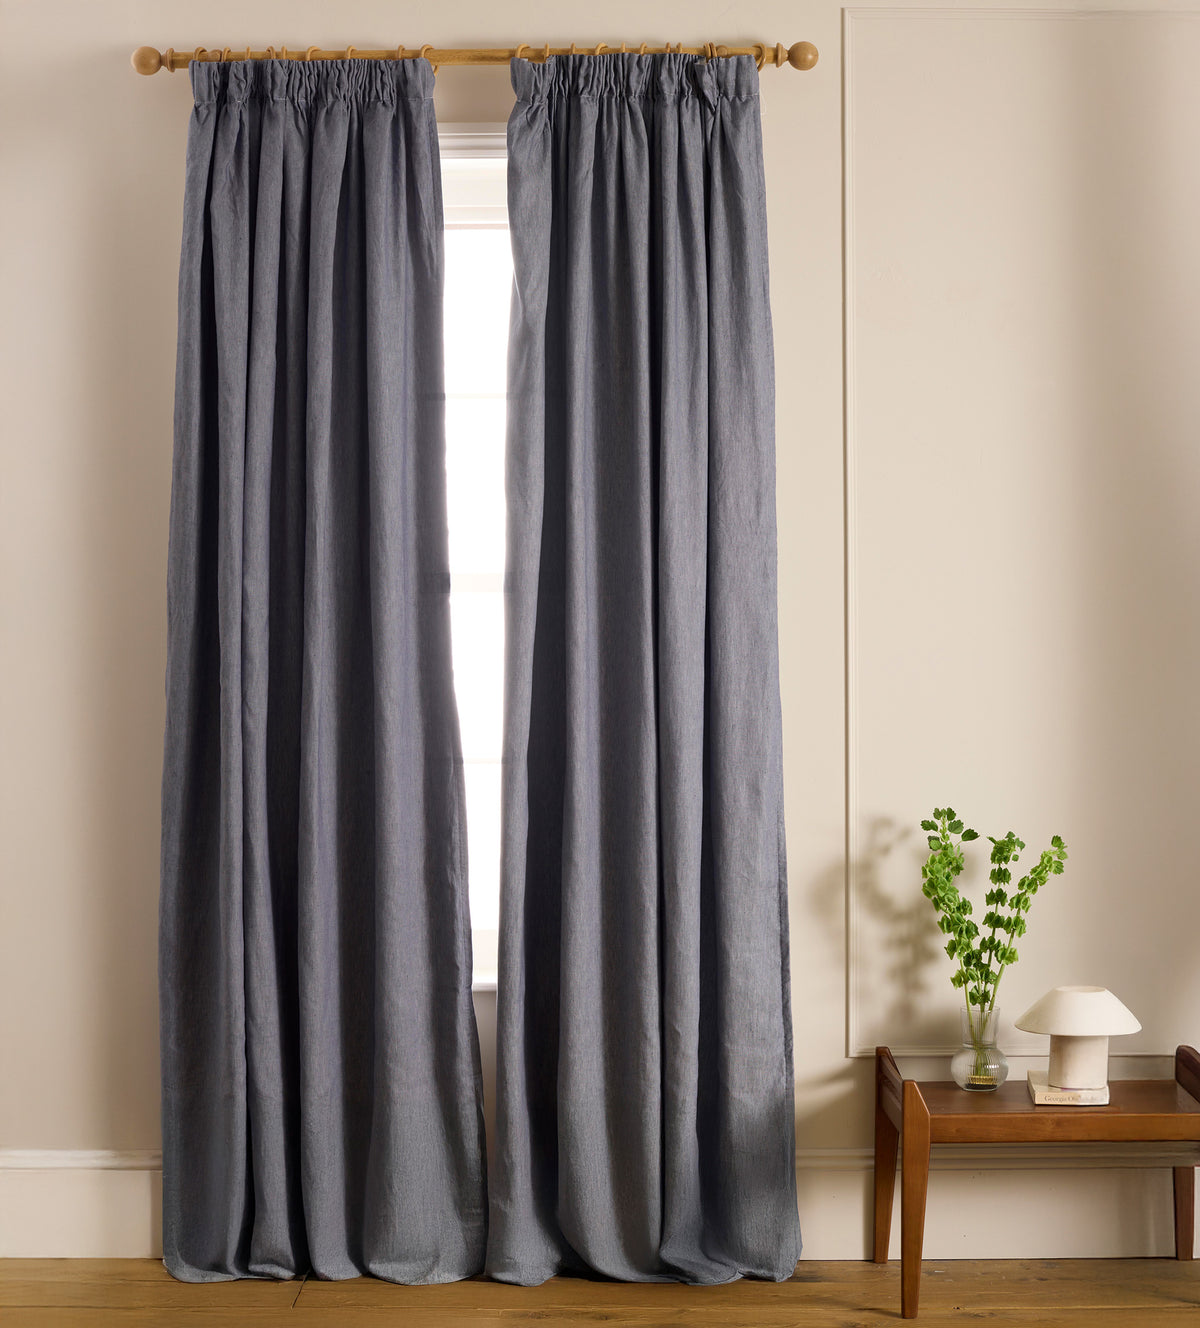
French Blue Twill Cotton Linen Blackout Pencil Pleat Curtains (Pair)